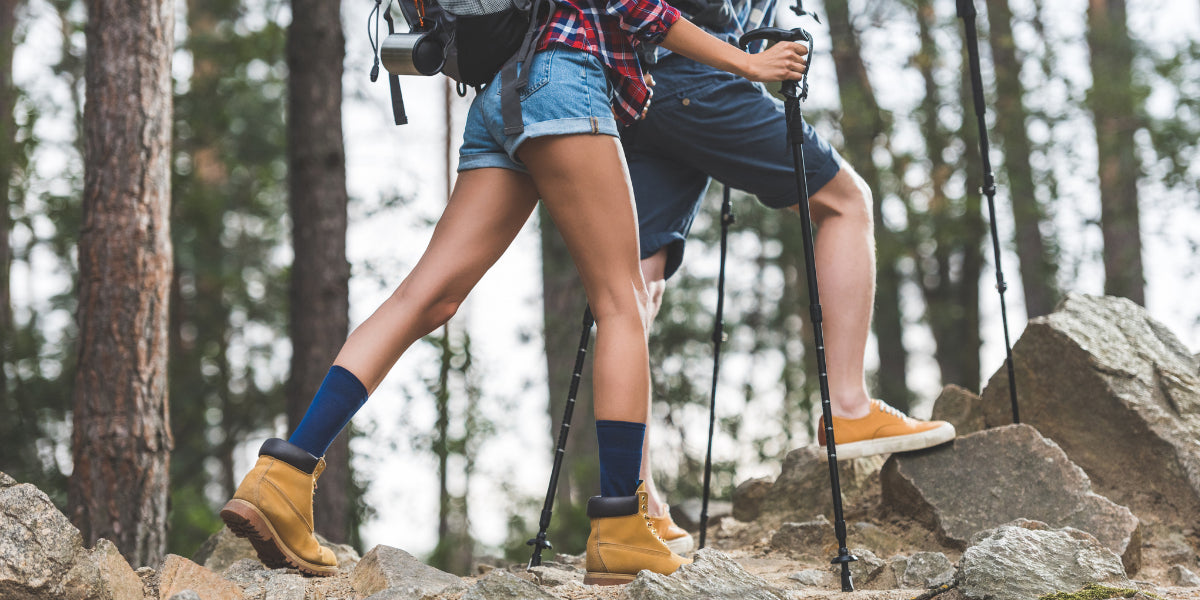
Before hiking, preparation is an essential step to take as your feet will be doing most of the work. Therefore, you need to ensure that they are up to the challenge. Otherwise, you might put yourself at risk of developing hiking-related foot problems, such as blisters, plantar fasciitis, heel spurs, and more.
Learn about 5 exercises you can do to help strengthen and prepare your feet for hiking. Read on and start prepping your body for your next hiking adventure!
5 Exercises to Prepare Your Feet for Hiking
Toe Curls

(Image Source: Mobile Physiotherapy Clinic)
Steps
- Start by sitting in a chair with your feet flat on the ground.
- Place a small towel or cloth on the ground in front of you.
- Use your toes to scrunch up the towel or cloth and hold for a few seconds.
- Release the towel or cloth and repeat the movement for several reps.
- Repeat the previous steps with one foot at least five times, then do it with the other foot.
Benefits
- Toe curls strengthen your feet and toe muscles.
- The exercise increases foot flexibility and mobility.
- It improves balance, stability and circulation.
- It reduces the risk of fall.
Tips
- Start with a small towel or cloth and gradually increase the size as you get stronger.
- Don't grip the towel or cloth too tightly with your toes. Focus on using the muscles in your feet to lift the towel or cloth.
- Breathe deeply and relax your feet and toes between reps.
- Use small balls, resistance bands, and other objects to challenge your muscles in different ways.
- You can increase the intensity by adding weight to the exercise. You can do it by using heavier objects.
Ankle Rolls
Steps
- Sit on a chair or on the floor with your legs extended in front of you.
- Lift one foot off the ground and rotate it in a circular motion, starting with small circles and gradually increasing the size of the circle.
- Complete 10 to 15 circles in one direction and then repeat in the opposite direction.
- Switch to your other foot and repeat the previous steps.
Benefits
- This type of exercise improves the flexibility and strength of your ankle joint.
- It increases range of motion.
- It relieves foot fatigue and tension in your ankles.
- It enhances balance and stability.
Tips
- If ankle rolls are new to you, start with small circles and increase the size gradually as your ankle mobility improves.
- Relax your leg and focus on moving your ankle joint to get the maximum benefit from ankle rolls.
- To maximise your foot and ankle workout routine, try combining ankle rolls with other exercises like calf raises or toe curls.
- You can maximise the benefits of ankle rolls by incorporating them into your daily routine. You can do them while sitting at your desk, watching TV, or even while cooking.
Heel Raises

(Image Source: The Epoch Times)
Steps
- Stand with your feet flat on the ground and your arms by your sides.
- Slowly raise your heels off the ground, keeping your toes on the ground.
- Hold the raised position for a few seconds, then slowly lower your heels back down to the ground.
- Repeat the previous steps.
Benefits
- The heel raise exercise improves balance and stability.
- It strengthens calf muscles.
- It improves ankle mobility.
- It helps prevent injuries.
Tips
- If you're new to heel raises, start with a lower number of repetitions and gradually increase as your strength and endurance improve.
- You can place your hands on a table or chair to help balance yourself.
- Make sure to keep your back straight and your core engaged throughout the exercise to avoid unnecessary strain on the back.
- To make the exercise more challenging, you can add weights or perform the exercise on a step or elevated surface. However, it's important to increase the intensity gradually to avoid injury.
Foot Stretches

(Image Source: POPSUGAR)
Steps
- Sit on the floor with your legs extended in front of you.
- Cross one leg over the other and place the ankle of the crossed leg on top of the opposite knee.
- Use your hands to gently pull your toes towards your body until you feel a stretch in the arch of your foot.
- Hold the stretch for 15 to 30 seconds, then release.
- Repeat the previous steps.
Benefits
- Foot stretches improve flexibility.
- This exercise improves balance, stability and posture.
- It reduces foot fatigue.
- It improves range of motion.
Tips
- If you're new to foot stretches, start with gentle stretches and gradually increase intensity as your flexibility improves.
- You can use props such as a tennis ball or foam roller to further enhance your foot stretches. Rolling a tennis ball under your foot can help release tension and improve flexibility in the muscles and ligaments.
- While stretching can be beneficial, it's important not to overdo it. Be gentle and listen to your body, and avoid stretching beyond your comfort level or causing pain or discomfort.
- Make sure to stretch both feet to maintain balance and symmetry in the body.
Barefoot Lunges

Steps
- Stand with your feet hip-width apart and your arms at your sides.
- Take a big step forward with one foot and lower your body until your front thigh is parallel to the ground.
- Keep your back straight and your core engaged.
- Push through your front heel to return to the starting position.
- Repeat with the other leg.
Benefits
- This exercise improves lower body strength.
- It improves ankle mobility and posture.
- It reduces the risk of injury.
- It increases foot and toe strength.
Tips
- If you're new to lunges, start with small steps and gradually increase the range of motion as you get more comfortable.
- Keep your back straight, your core engaged, and your knee in line with your ankle to avoid injury and get the most out of the exercise.
- Barefoot lunges can be more challenging than lunges performed in shoes, so it's important to perform them on a soft surface, such as a yoga mat or grass, to reduce the risk of injury.
- Barefoot lunges can be a great addition to your workout routine, and can be performed as a warm-up or as part of a lower body strength training program.
- Engage your core muscles and keep your back straight to perform a proper lunge.
Conclusion
Your feet are one of your most important assets when hiking. Therefore, doing these 5 exercises will ensure they are up for the challenge. Incorporate these exercises into your fitness routine now to help strengthen the joints and muscles in your feet for your next hiking trip.
Renpho Health Tips
-

5 Cool-Down Exercises to Incorporate Into Your Fitness Routine
March 27, 2023
Read more >
-

5 Upper Body Exercises for Outdoor Workout this Autumn
March 13, 2023
Read more >
-

3 Exercises For Building Upper-Body Strength, According to a Personal Trainer
February 20, 2023
Read more >
-

5 Stretching Exercises You Can Do To Power Your Cardio Workout
February 6, 2023
Read more >
-

Exercises to Make Your Lower Back Muscles Stronger
January 16, 2023
Read more >